Now that I got the warning out of the way, I can share how I changed my outlets in the Living Room. When we panted the walls bright white it made our outlets look weird because they were all cream. Along with this cosmetic reason to change them, they also were kind of old and all upside down. Yes, upside down...weird, right? (Yes, we could have just turned them around, but they would still be cream...so maybe changing them was 100% a cosmetic thing, so sue me.) This was my first foray into an electricians world and I was surprised at how simple the process was.
Step 1: TURN OFF THE POWER!!!! Seriously, go to the breaker box and flip the switch off. Then double check by plugging a lamp in the outlet you're working with and see if it turns on. You can buy something to test outlets, but while carrying around a lamp doesn't look as professional, it's free.
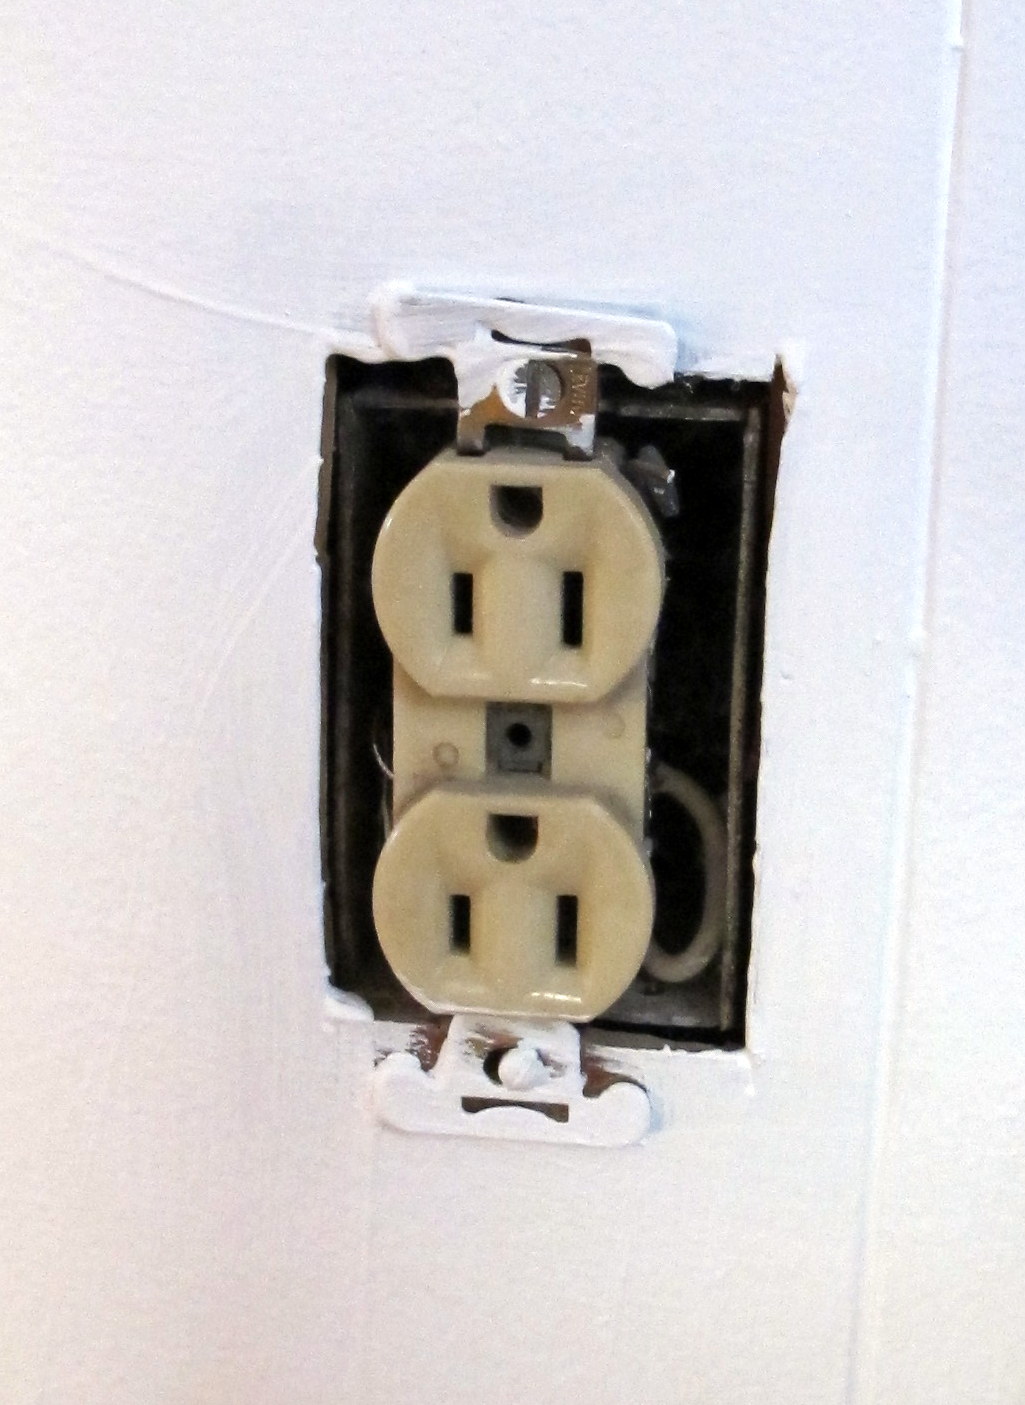
Step 2: Remove face plate and unscrew outlet from wall:


 |
| Two black wires |
 |
| Two white wire and the grounding wire |
 |
| Loosening screw for grounding wire |


 |
| Wrap grounding wire around the colored screw and tighten. In new outlets they make the screw for the grounding wire colored to make it easy to identify. |
 |
| Just hook on the new wires and tighten the screws. Looking for the tab on my new outlet? It is hard to see here, but it is in front of the screws, right before the white plastic. |
 |
| Don't think that the wires have to completely circle around the screw. As long as there is contact and the wires wont come off you're good. |

 |
| Seriously had to push with one hand while screwing in the top screw. |
 |
| Once you get one screw in, the other is way easier. |

I honestly was surprised at how easy it is to change these. All things involving electrical wires used to scare me. So, when do you change the outlets? Besides cosmetic reasons, you should change if when you plug something in, the plug falls out wiggles around in the outlet. The insides of the outlets eventually wear out and its safer just to replace the whole thing.
Project Cost: about $18 for each new outlet and face plate (sold separately)
Time: 15 mins for the first outlet, but you get faster as you go
Difficulty: Easier than you think, but I'd still say moderate DIY skills just because it is involving electricity.
No comments:
Post a Comment