I originally planned on doing one post about installing the Dishwasher and another about the Sink & Disposal...but while going through all the pictures I took of the Dishwasher install I've realized that just because you take a lot of pictures doesn't mean they're any good. I don't have good enough pictures of the Dishwasher install to explain it step by step so instead I'll give you the highlights. If you want actual instructions check out this site (my favorite blog):
http://www.younghouselove.com/2012/02/dishing-it-out/
As a reminder, here is our old dishwasher (broken when we moved in):
And here it is coming out (after we'd unhooked everything):
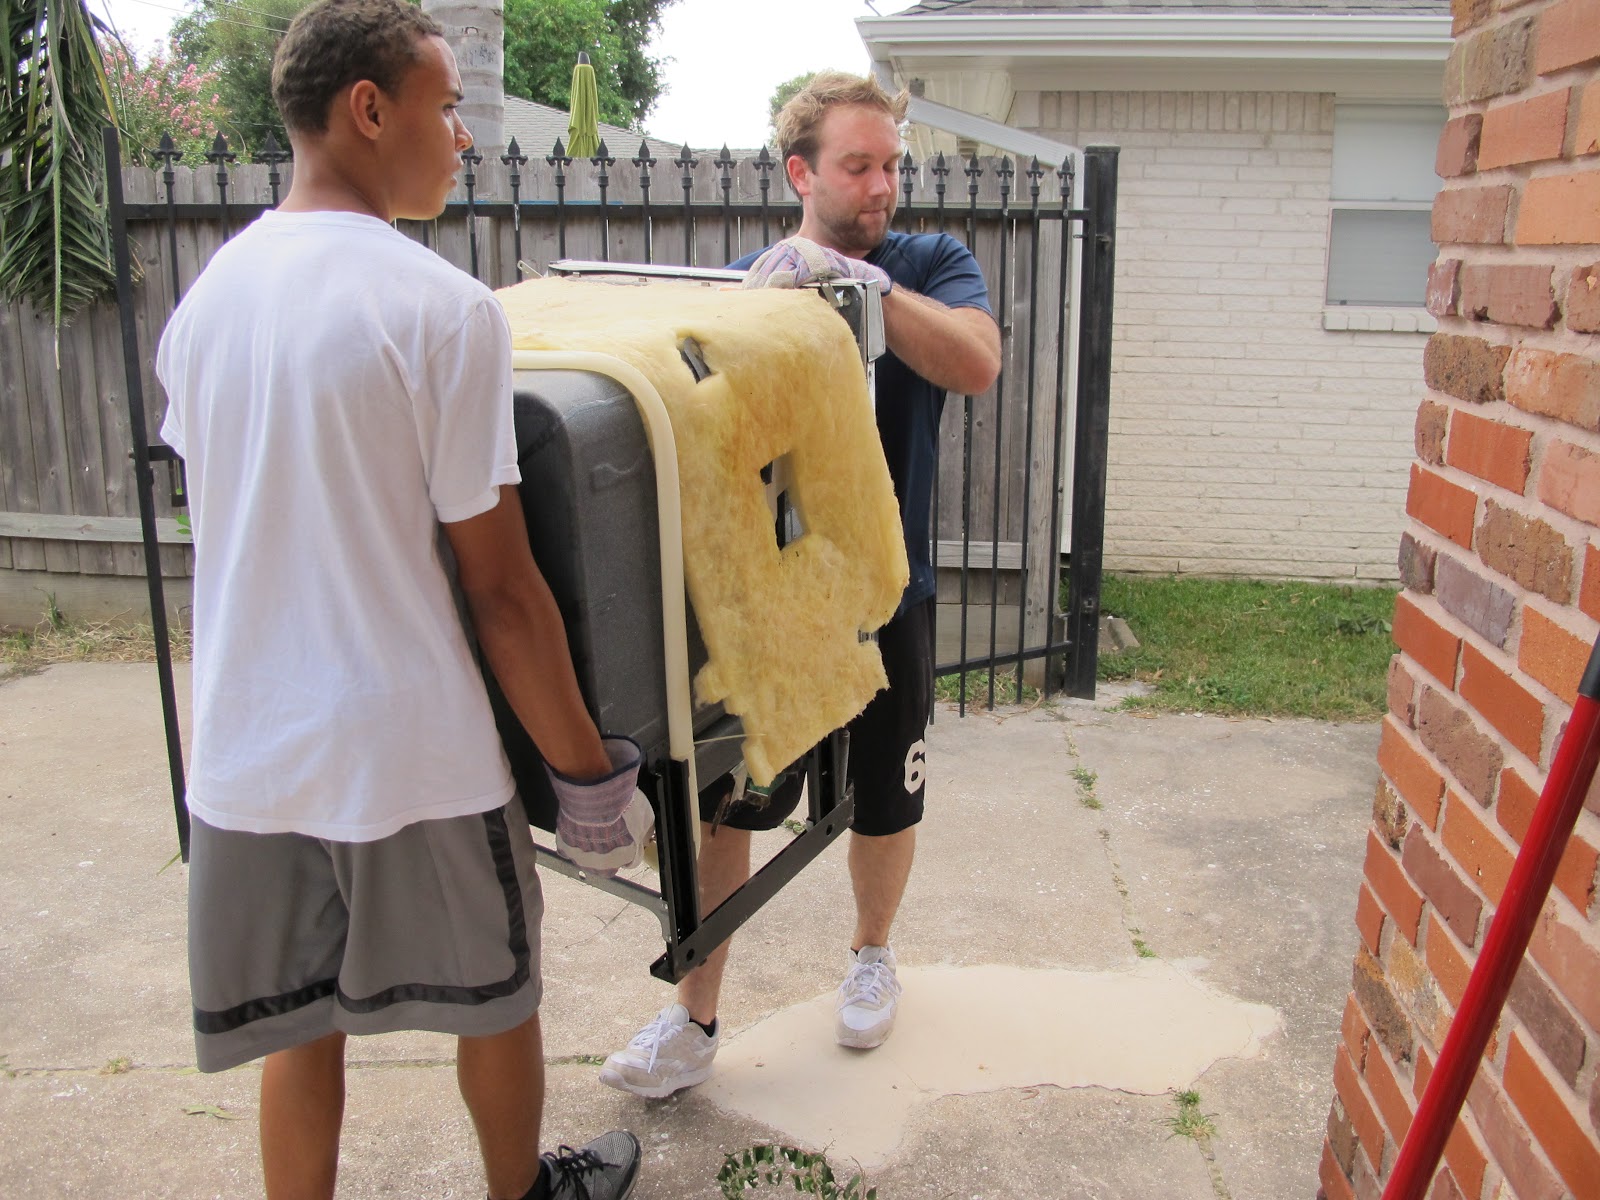
LJ and his brother JJ took it out the door to load into the van (to take to Lowes). We figured if they were doing free haul away on appliances that weekend, they would be more than happy to take an appliance that was brought to them. We were right, they had no problem taking it off our hands:
Poor guys... we had forgotten that the Caddy was parked in the driveway...whoops! Luckily they were able to walk around it. (Our neighbor's AC unit is about where their gutter comes down. You can't see it but I promise it's there so this was a tighter fit than it looks.)
Then we swept out the hole and put the beautiful new one in (FYI all that padding is what helps keep the noise down):
Just a little tip: when you install it you need to make sure it's level.
And there she is... my beautiful new dishwasher!
I've now lived with this dishwasher for three weeks and so for I L.O.V.E. it. The dishes come out sparkling and it is SO quite. I'm used to having to talk over the dishwasher when it's running. This one is a low hum that is easy to talk over. When I'm in the den I can't even tell if it's running. It's a beautiful thing!
But that's not all we did that day... we also installed my GORGEOUS new sink!!! I can not accurately describe how much I like my sink (it boarder-lines on obsession). Let's start with the after pic:

Isn't she pretty!!!! I have literally been looking/drooling over this sink at Lowe's for months. Didn't think I'd actually be getting it any time soon. 'Sink' was not on our Labor Day shopping list. But when were talking to my father in law about changing out the garbage disposal he asked if we were planning on getting a new sink. My answer was 'eventually' and he just commented that since we were working on stuff down there anyways now would be a good time to get it. Plus we had that 10% off coupon we could use. So when we were at Lowe's looking at washer and dryers we also checked out the sinks. Our old sink was 33"x22" (standard size) and was divided down the middle like most sinks. As a reminder, here is our before picture (before we moved in... I was able to get the rust stains off later):

I knew I wanted to replace this with a sink that wasn't divided. I just hate trying to clean a cookie sheet or big pot that doesn't fit. When were were looking at Lowe's the undivided stainless steel sink was $200 and the nice black granite sink was $300. I told LJ I was ok getting the stainless steel one, especially since we were already spending so much on all the other items, but I think he saw me looking longingly at the black sink. He made the point that $100 extra dollars wasn't really a lot when you think of how long we'd own the sink and use it. Plus we would get $30 off...so we should just get the sink I want. I couldn't have been more excited. (I'm telling you, I'm a complete weirdo. Forget flower & chocolates, buy me the sink I want and I'm yours.) So we bought the one I wanted plus a new garbage disposal and facet.
So...now for the install:
Step 1
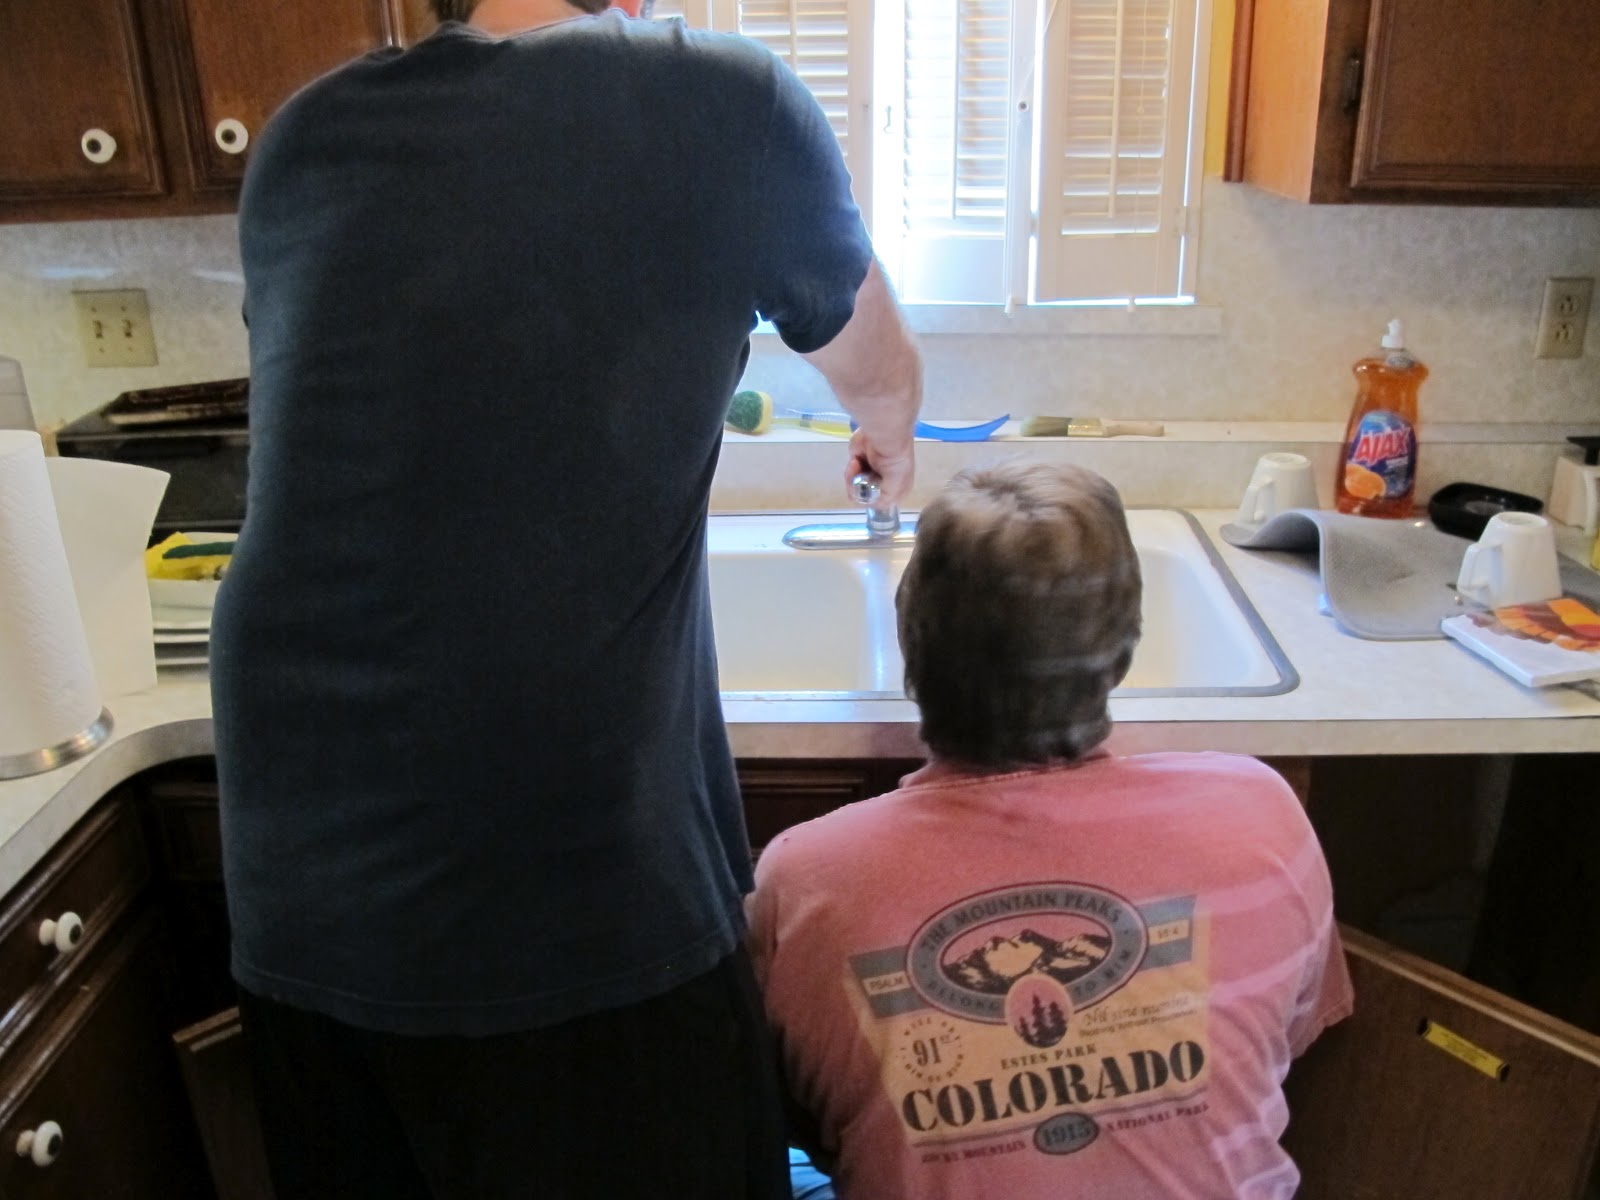
TURN OFF THE WATER to the sink. Under your sink there should be knobs you can twist for both the cold an hot water. (In this picture the hot has a red knob and the cold a silver)
You will need to unhook the water lines from the sink. Be sure to put a bucket under them when you unhook the hoses from the sink so you don't get water everywhere. The water already in the line is going to come pouring out.
Step 2
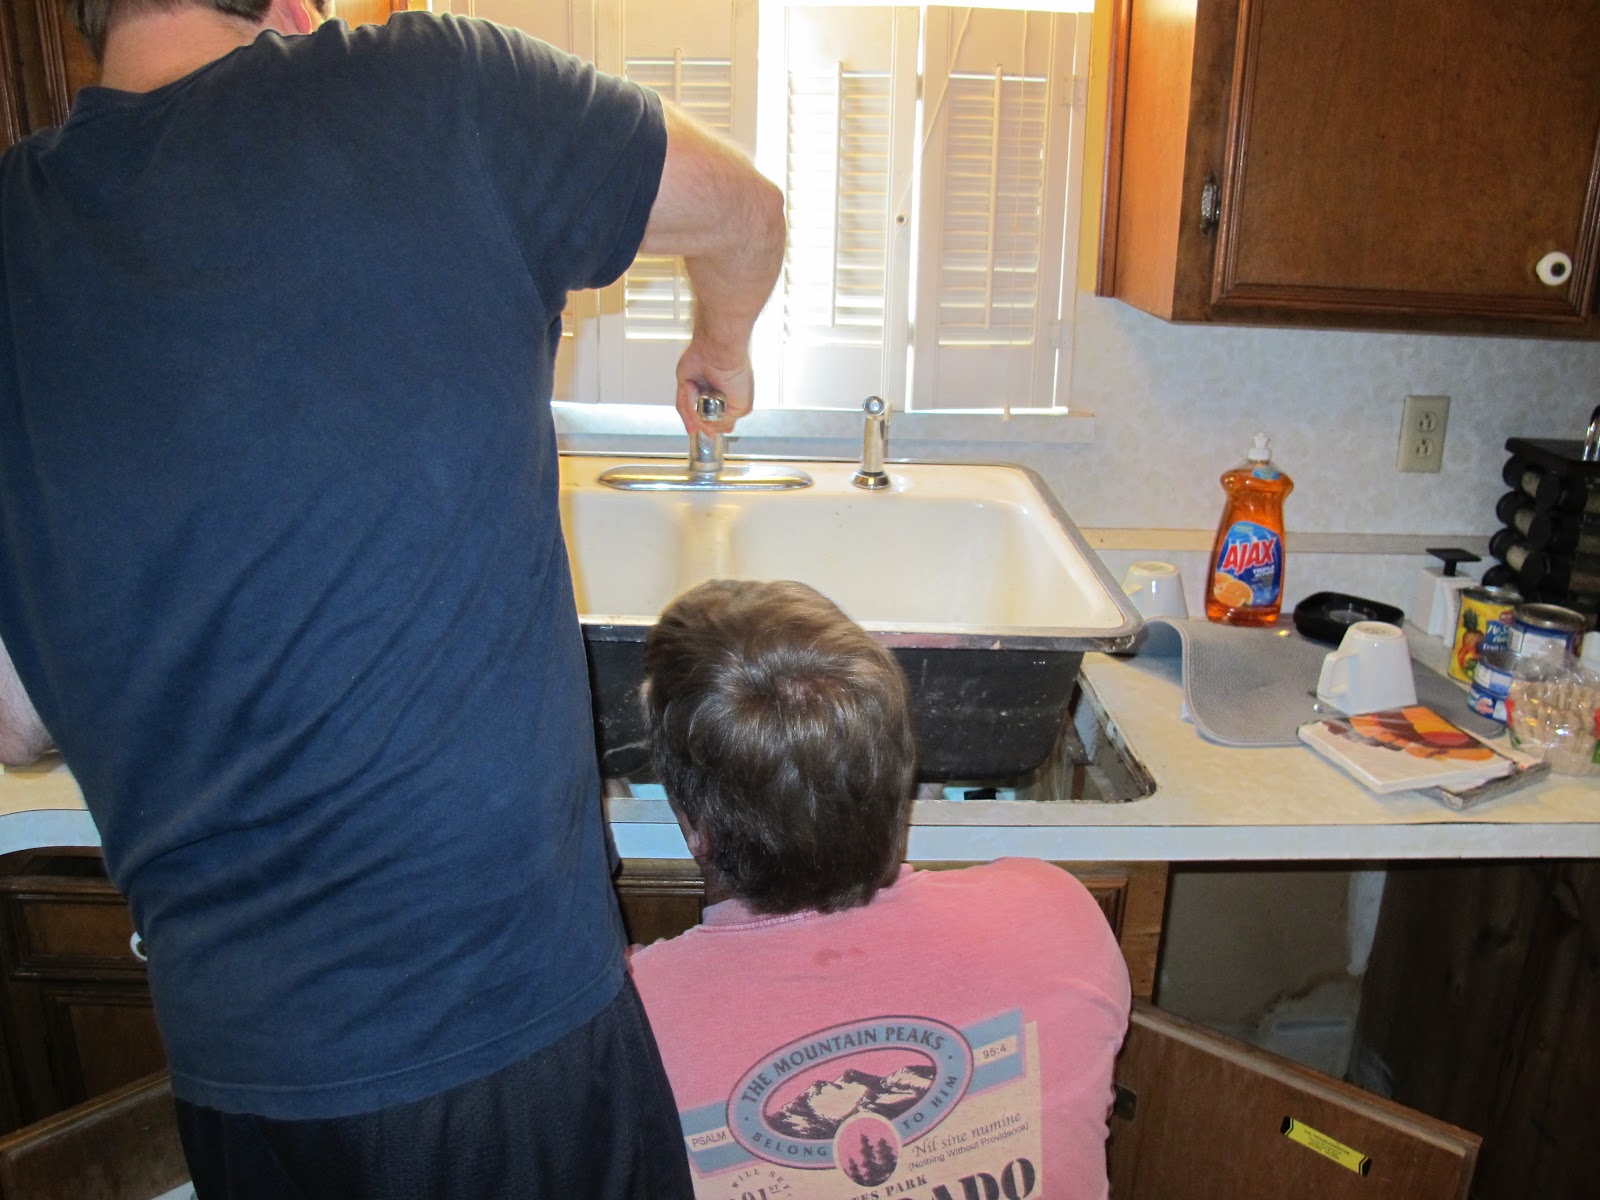
Unhook the plumbing under the sink. This is the part where you may need to call in a professional... or if you have some experience I think you can figure it out. It wasn't that hard, just used a pipe wrench and some elbow grease.
Of course, we're going from a two drain sink to a one drain sink, so we did have to re-route our pipes. I wouldn't recommend this to the layman. So if you're going from a 2 drain to a 2 drain or a 1 drain to a 1 drain you can totally DIY, but if your going from 2 to 1 or 1 to 2, consider a little help.
Step 3
Unhook/remove the old sink. Want to know what keeps a sink in place? It's these little clips underneath the sink.
Use an extended screwdriver to get them out. Helpful hit, have someone hold the sink while you un-clip it... wouldn't want it falling on you.
Then you just lift it straight out!
I thought it was pretty weird how easy it was to get this sink out. If it's a newer sink you might have a harder time lifting it out as the silicone around the edge might be stickier. If that's the case I would imagine you could run a blade around the outside edge. I'm not sure what we're going to do with this guy. He's still in good condition (I got all the rust stains out) and he's not cheap...maybe craigslist? For now, he'll be hanging out in the garage.
This is what we're left with:
Step 4:
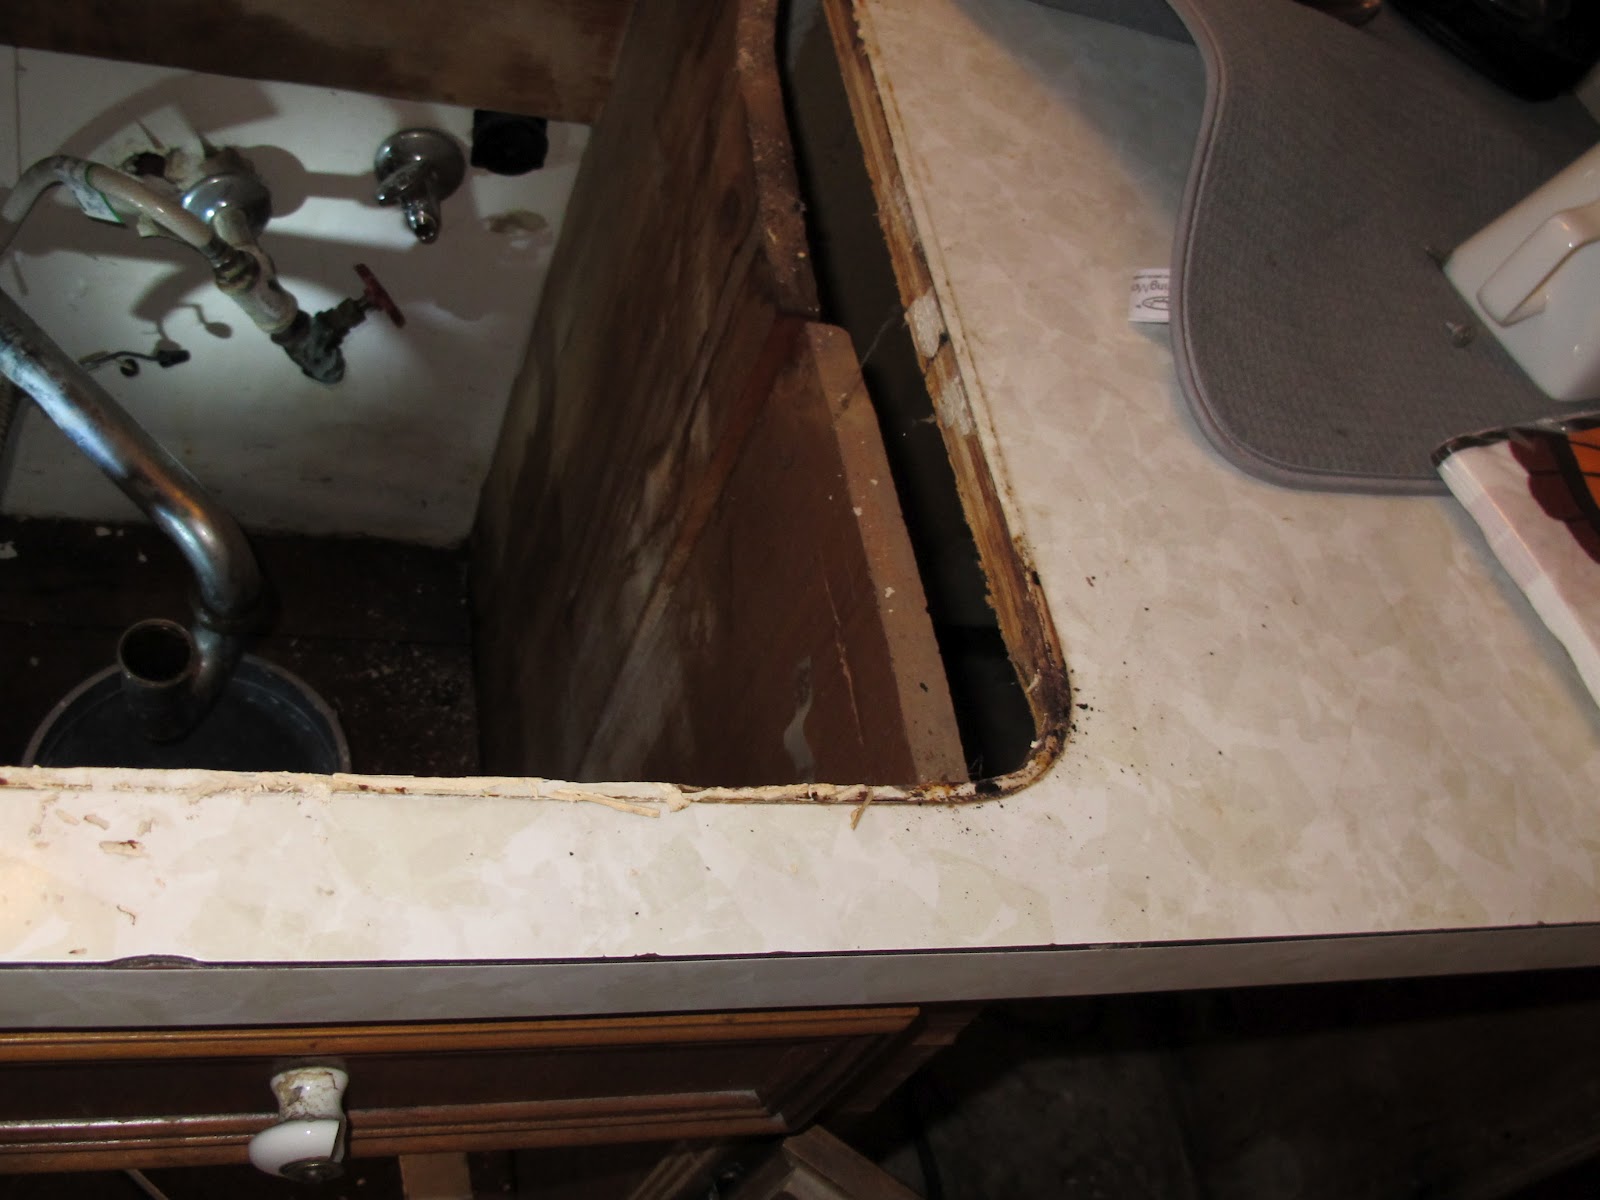
Prepare the counter for the new sink. Our counter had junk around the edge where the sink used to be:
This needs to all come off to give the silicone a nice clean surface to work with. I ended up using a magic eraser to clean the edges. Worked like a charm!
Step 5
Make sure your new sink fits before you do anything else. Wouldn't want to attache the facet and get it all ready only to find out we measured wrong. So we held it in place, and it fit beautifully:
Notice our sink has those green dots up top? That's because instead of coming with 4 holes pre-drilled it comes with one and three spots where you can 'easily punch out the hole'. I guess some faucets don't need all the holes drilled in it, but ours did so we had to punch those suckers out. Turned out to be not as easy as the instructions let us to believe. We took the sink outside and put it on a flat surface and used a large nail punch and hammer to hit the green dot. It was supposed to easily break out in a circle, but instead it slowly chipped away:
Eventually we got the holes big enough so that the faucet pieces would fit through. We had to be careful not to make the holes too big or they would peek out when the faucet was all put together:
Step 6
Put a continuous bead of silicone around the edge of your counter. Here is the silicone we used:
It takes a steady hand. If you have a gap you need to make sure you go back over it and completely cover it.
It's like putting toothpaste on a really really really long toothbrush. Error on the side of too much rather than too little. After the sink is in place you can clean up any that squeezes out.
Step 6
Install your faucet. This is easier to do when the sink is not installed and the faucet will later serve as a handle when you're dropping in your sink. I'm not going to give instructions because each faucet is different. Here's ours mid-install:
Step 7
Drum roll please... Dropping in the sink. This is delicate work with a heavy object. I suggest 3 people, two to hold the sink and one to say "to the left, no, now to the right" as you drop it in.It doesn't have to be exactly perfect, but it needs to be pretty close because you want that silicone to act as a waterproof seal.
After you drop it in, have one person go under the sink and look for daylight. If you can see light shining through then you've got a gap between your sink and your counter. Also measure to see if the sink is perfectly parallel to the counter edge.
Remember the clips that kept the old sink on? Well time to put those suckers on the new sink:
When you do this, any extra silicone will start to squeeze out the edge of your sink. Just wipe it up with a paper towel. If you can't get it all don't worry, later you can come back and just rub it with your hand and it will ball up and come off your counter. Do NOT use a razor to scrap away the extra or you are likely to cut through the seal and allow water to gather at the edge of your sink.
And now the sink is in! Now for the garbage disposal... I'm only going to show you the generic steps because each unit will come with it's own instructions.
Step 8
Installing the drain. To put the drain in your sink you will need plumbers putty:
Just think back to your play-dough days and make a snake out of the putty, which you then wrap around the base of your drain (make sure it overlaps):
Place drain in sink and push down, excess will squeeze out, just pull this off and put it back in the container:
Step 9
Next it's time to install the underside of the drain. This is what it looks like:
When you tighten the screws (to attach it) more putty will squeeze out the top of the drain. That's normal. Have someone hold the top if you want to make sure the words written on the drain stay facing the correct direction (and of course we know I cared about that):
Step 10
The last part is hooking up the disposal. Again, I'm not going to go into detail 1) because each one is a little different 2) because there was a lot more plumbing involved in ours b/c we went from two drains to one and 3) because this is already the longest post I've ever written and I doubt anyone's still reading ;)
The disposal nicely fits in to the drain bottom:
Then you hook up the pipes so the water doesn't just dump into your cabinet (that's the complicated plumbing part). Next you just hook your new faucet lines up to your water spouts before you turn the water back on. Here is a pic of the whole thing in process. For anyone brave enough to do the plumbing yourself, note that the dishwasher should drain through the disposal. Our old dishwasher was hooked up wrong (even more plumbing to fix!).
Last part is to turn on your water and hope everything works!
WE DID IT! YAY! :) I love me new faucet beyond reason. It just makes me so happy when I walk in the kitchen! Let's look at that before and after again!
Before:
After:
SO PRETTY!!!!!
Ok, I'll calm down....maybe
Project Cost: Sink - $300, Disposal - $150, Faucet - $120 Total: $570 - 10% = $513 (plus a couple of bucks for the silicon)
Time: about 3 hours overall
Difficulty: Moderate to Hard - I wouldn't try doing the whole 2 drain to 1 drain thing on your own. We have the advantage of a family member who is an engineer and has done plumbing work before. That said, if you're just replacing a sink and not changing the number of drains then I think an experienced DIYer could totally handle it. :)


No comments:
Post a Comment