Wednesday, November 14, 2012

Project 15: New Mailbox!

Sometimes the smallest projects are the hardest to get motivated to do. On our very first trip to Home Depot as home owners LJ and I bought a new mail box because we noticed the existing one was too small. Well, now that' we've lived in the house for around 5 months I finally put it up. (Side note: I can NOT believe we've lived here that long...doesn't feel like it at all.)

Here are the before pictures:
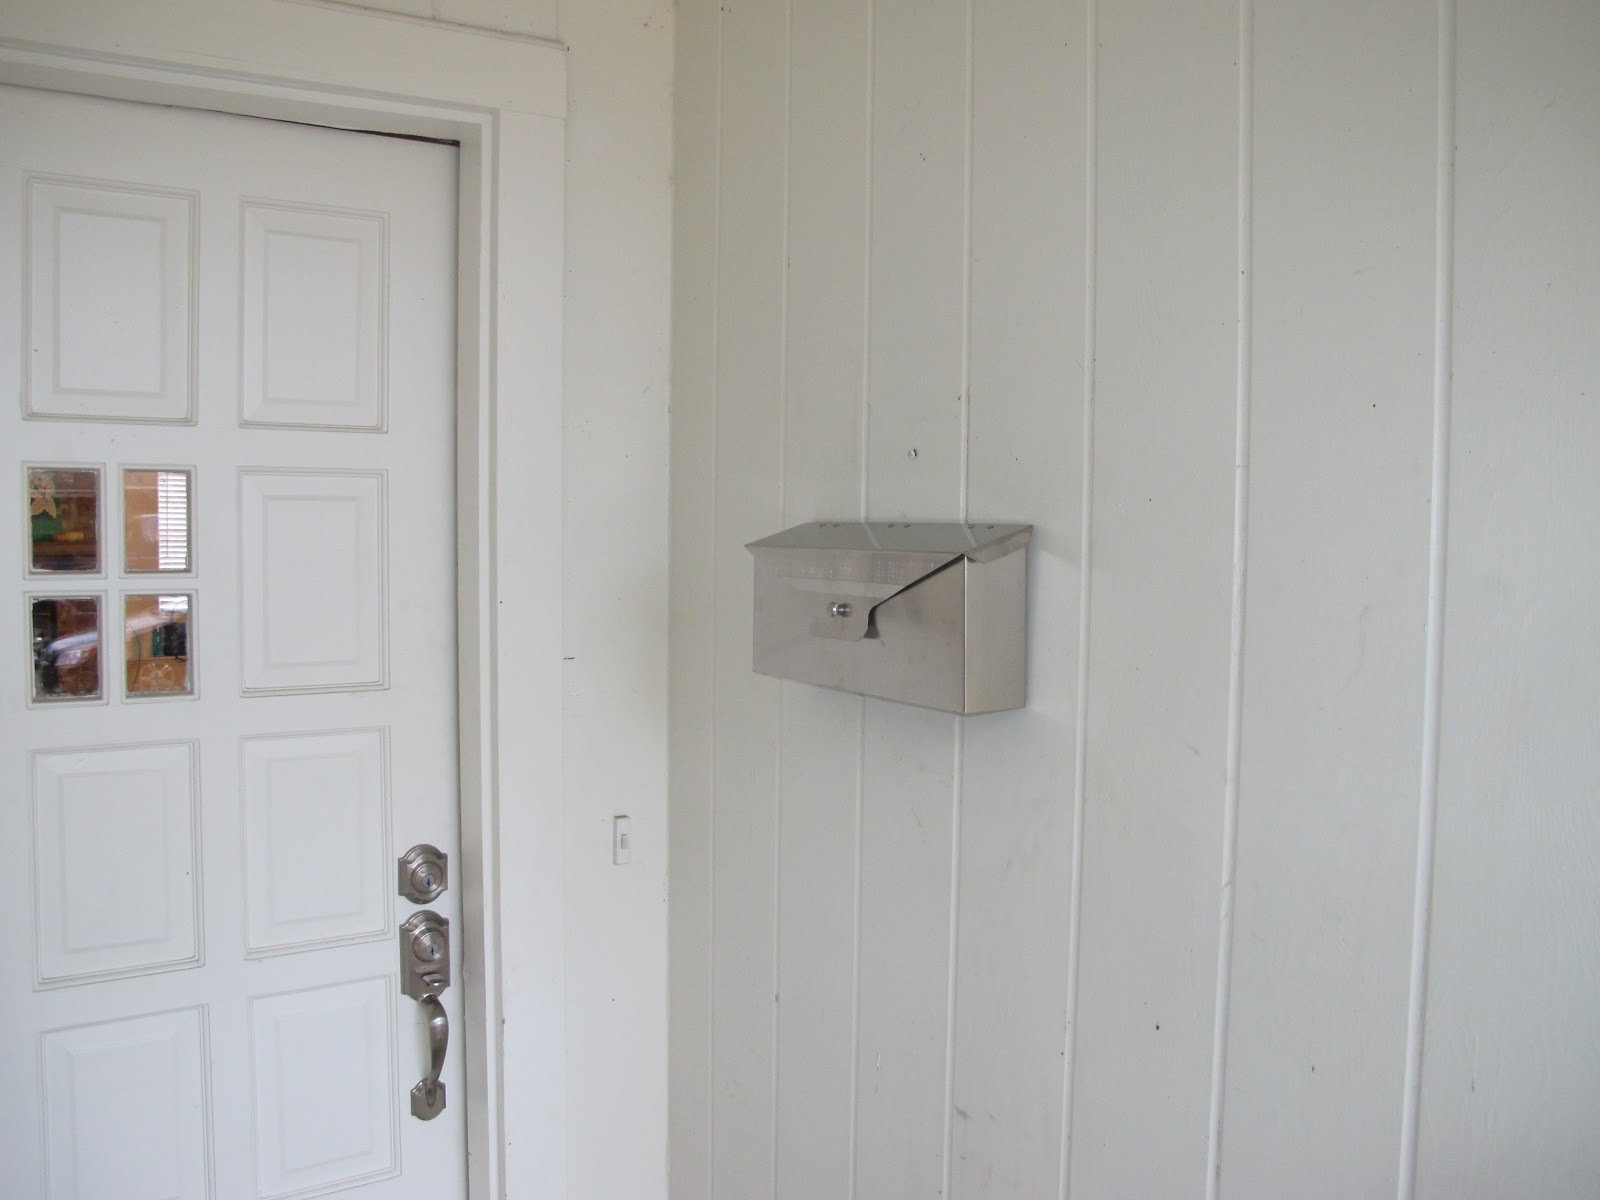
Here's a nice view of the entry way, our mail box is that little black square to the right of the door.

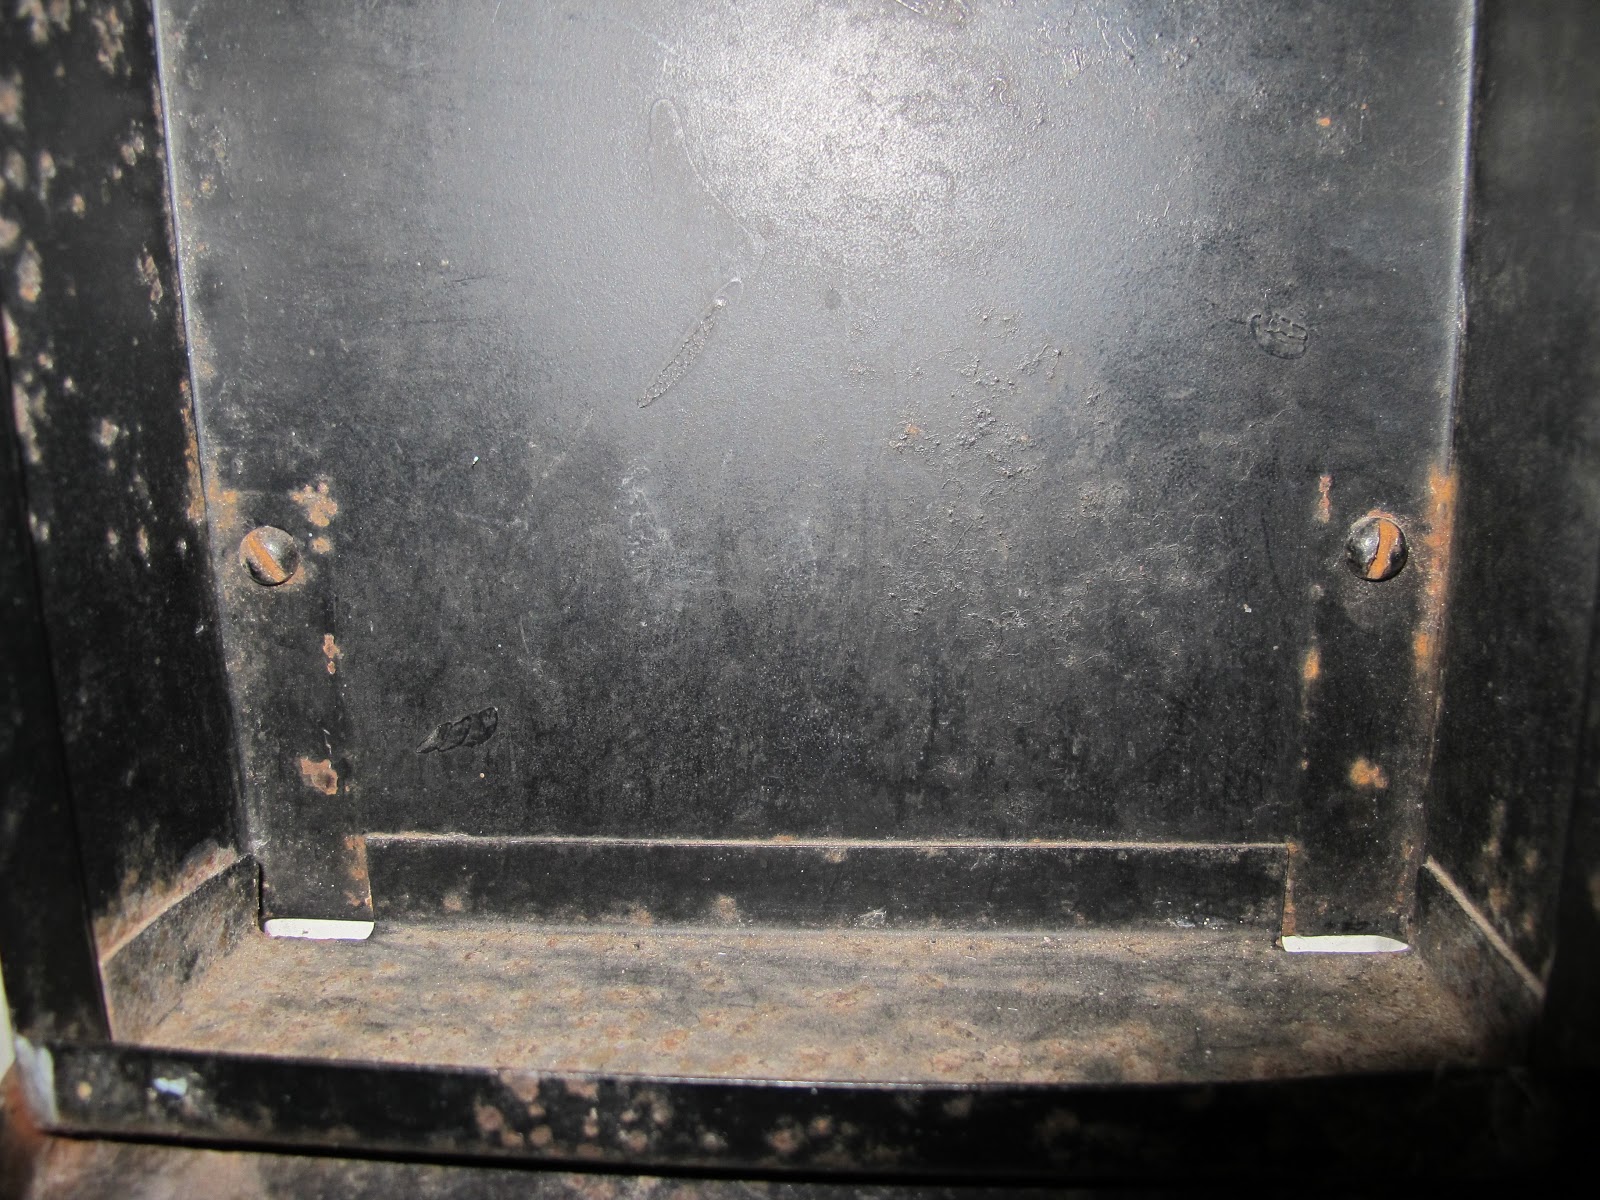
Here is what it looks like from the outside

This is for scale, see how this flyer has to be bent in order to fit? Almost all of our mail is bent up each day because it doesn't fit.
First I removed the old mail box. It was attached by one screw up top and two on the bottom:

That left me with a white wall with some lovely dirt built up on it...ewwww:
I used a Mr. Clean Magic Eraser to get most of it off, but the bottom wouldn't really come clean. It made figuring out where to hang the new mailbox very easy for me. Painting over the whole thing occurred to me but I don't have the original paint, and a bright shiny spot of new paint on the worn wall would stick out more than some dirt. I decided to leave the top screw in for now. It was painted over so it blends in pretty well and I think the hole it would leave would draw more notice than the screw itself. Some day we'll repaint this area and then I can move things around if I want.

Next step was to drill the holes for the new mailbox. The back of the box came with a guide. I cut it out and used a level to figure out where the box should go:
Then I just taped the guide straight onto the wall to hold it in place. Duct tape probably isn't the best thing to use...but it's what I had handy and I was taping this to an exterior wooden wall, not an interior drywall.

This makes it easy to drill the holes where they need to be, no worrying about the guide moving around while I drill. I just drilled right though the cardboard.
Guess what my new mailbox didn't come with? The hardware that should have been included. Correction, it had the rubber washers, just not the actually screws. Luckily I had two sitting in my pocket from taking down the old mail box. They were the perfect size. I put on the rubber washers:
These will act as a cushion between the wall and the metal mailbox. I screwed them in, leaving a lot of room:
There was about 1/4 of an inch between the screw head and the rubber washer. It is into this gap I hung the new mailbox. Then all I had to do was tighten the screws to keep the new box in place.
Easy as pie. Oh, and I'll just go ahead and point out what you may have notice; I'm wearing a leather jacket. I did this project after having lunch with my mom. If you could see the rest of me you'd know that I'm also wearing bright blue skinny jeans and high heels... why says you can't be stylish and handy? I'm sure my neighbors think I'm beyond strange.

I really like the new box:
Look, that's the same flyer, our new box is so much bigger!
The metal matches the front door.
 Before:

After:

Before:

After:
Silver numbers, silver mailbox, silver door knob and lock... light fixture you better watch out!


This project was so quick and easy, I wish I had tackled it earlier. Hooray for mail that isn't mangled!

Project Cost: It's been a while since we bought it, but I believe the new mailbox was around $30

Time: Maybe 15 mins total, and that includes stopping to take pictures.

Difficulty: Easy as pie. Great starter project if you're not used to using power tools!


1 comment:

  1. Glad you tackled that one in style. (: Haha.
    We're revamping our front porch too right now - changed the door hardware (well, Chance did, but I thought of you). (: And just bought new lights to put up (that are currently sitting in the garage). (:

    ReplyDelete