Project 28: Painting the Guest Bedroom
When we moved into our home a year ago I already knew what I wanted to do to some of the rooms. For others I knew I'd need some time to plan. Our guest bedroom was one of those 'need to plan' rooms. At first we planned on using it for a work out room, then realized that a guest bedroom was way more practical and honestly will probably get more use (LJ insists that I point out that he does work out, just not at home). After I knew the room's intended use it still took a while to decide on a wall color. I originally wanted plumb, but LJ wasn't feeling the purple. We ended agreeing to green, but didn't have an exact shade picked out. So, when I went to get the paint it was one of those see-how-I-feel-about-it-at-the-moment decisions.
I went with Pantone's 2013 color of the year: Emerald
You like? I do! Of course this project required more work than painting.
First I patched up the holes left by the shelf brackets I took down.
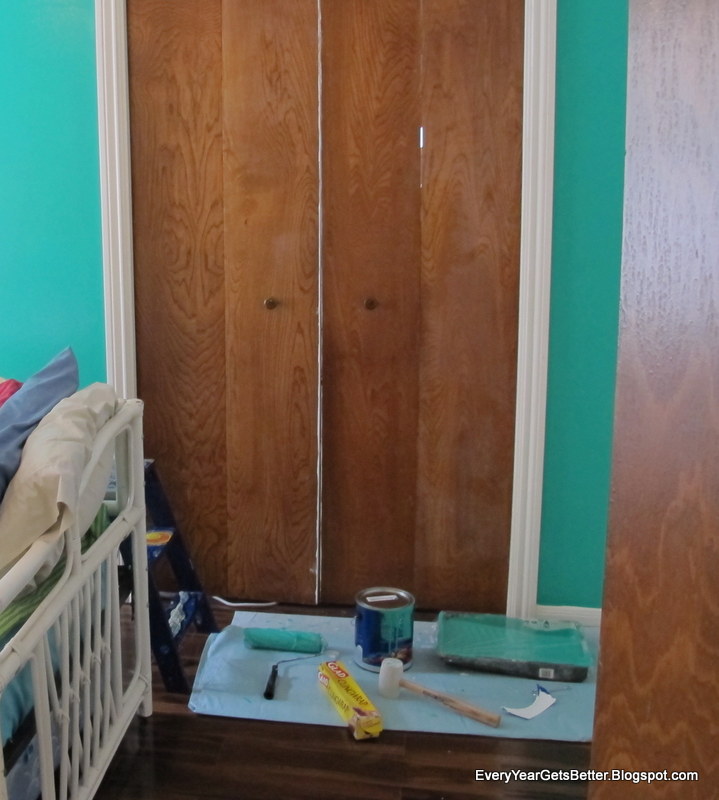
Then I did the actual painting. In case you wondered how a room looks mid painting:
See the laptop? I watched netflix while working to keep myself entertained. Oh, and see how there is no drop cloth? Instead of laying drop cloths everywhere I fold one into a rectangle and drag it around with me as I paint.
Obviously this only works on hard surfaces, but I find it useful. It keeps my paint with me wherever I am and forces me to be mindful. I know you should lay down drop cloths everywhere but I find it makes me messier. I guess I just subconsciously think "Oh the drop cloth will get it" and paint sloppy.
Anyway... after I finished painting I switched out the light fixture. I bought this fan:
See that 'five minute' garbage on the box? Yeah... anything that comes with this many little pieces (see all those plastic bags?) is going to take longer than 5 minutes just to unpack.
I would have taken pictures and given you a 'how to' but I had no one to hold the camera as I worked and you can't really work on a light fixture with one hand.
2 hours later, I finished installing it and it works perfectly.
Lastly, I switched out every outlet (without error this time) and light switch:
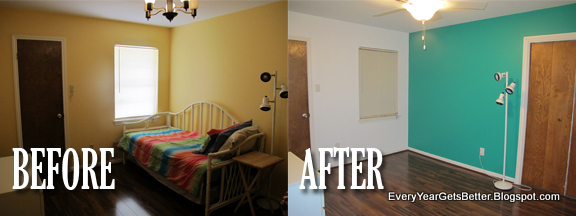
And that's it! Here is the room from different angles:
Project Cost: Fan - $120 at Home Depot, Paint $45 (two gallons of paint + Primer), Outlets/Switches $30 for a total of $195
Time: I did most of the work on one weekend, I only had one coat of white paint left for the following Monday night.
Difficulty: Painting - Easy as pie, Fan - should have been easy but the instructions were poorly written so I'll say medium for one person, easy for two (someone to hold stuff), outlets - easy.


No comments:
Post a Comment