
Step one:
Use a blade to cut away the top layer of any drywall sticking up. Cracks are normally either where the drywall has separated (walls being pull apart) or buckled (pushed together). My cracks where where the drywall buckled so there was kind of a lot to cut away.


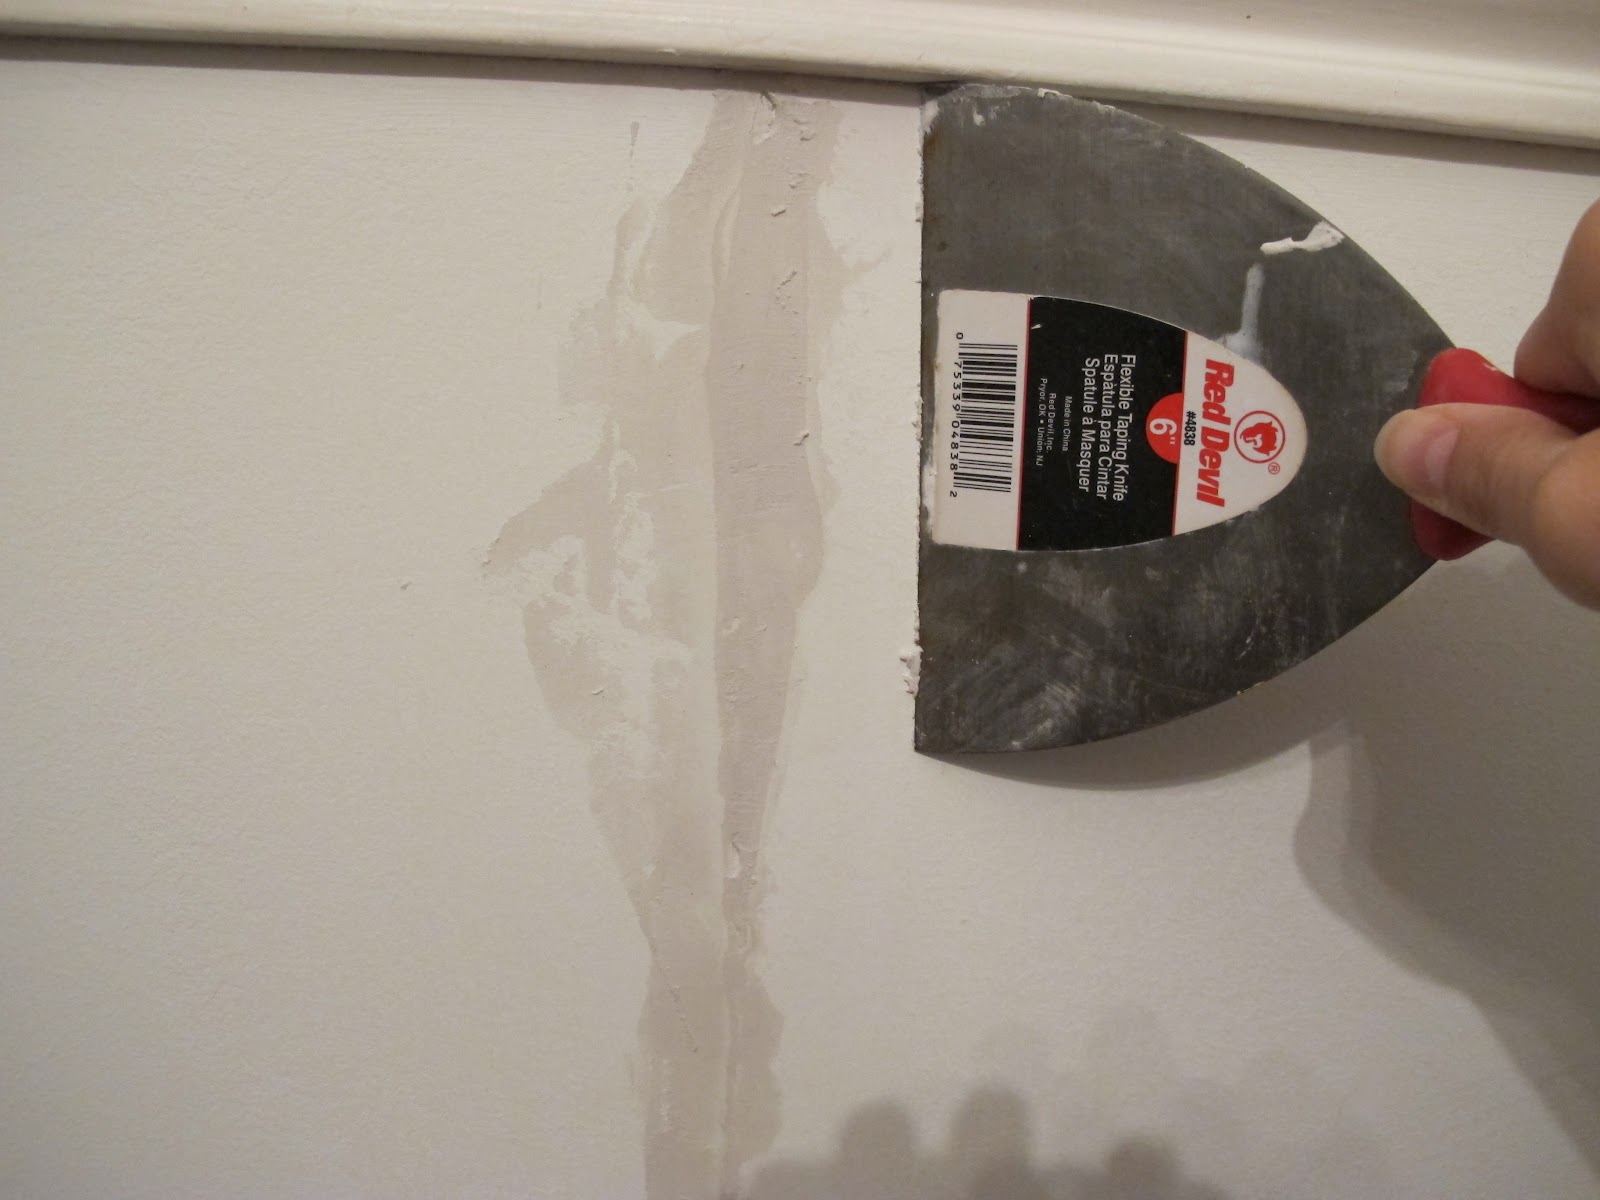
Step Two:
Use lightweight Sheetrock Joint Compound and a putty knife to fill in the crack.


Step 3:
Let it dry overnight, then sand it down. To sand it down, use one of these, a Drywall Sanding Block:


(I switch which crack I was taking pictures of because of lighting, but it's the same process)
Wash, Rinse, Repeat... Err. I mean Joint Compound, Dry 24 hours, Sand Down, Repeat (just doesn't have the same ring to it).
Adding second coat of the Joint Compound:


Step Four:
After the last coat of compound is dried and sanded you can paint your wall just like the crack was never there. And guess what? It looks even better when it's painted...

Before:
After:

I have to be honest, I was surprised at how rewarding this project was. Getting those ugly cracks to disappear made the room just look so much nicer. And it was relatively inexpensive. You can do this to walls already painted as long as you have enough paint to do a touch up job when you're done.
Project Cost: $12 for the joint compound + $3 for the sanding block = $15 (I already had the putty knife and was painting anyways).
Time: Total, maybe 2 hours for both cracks, but that was divided up into many different sessions so it didn't feel long at all.
Difficulty: I'd honestly say easy. I think it's one of those projects that looks like you need to know what you're doing, but in fact it's hard to screw up. Too much compound? Just sand more. Sanded too much? Just add more compound.
No comments:
Post a Comment